ServiceNow
This guide explains how to set up the ServiceNow integration for Flare using an API key for secure authentication. The steps below outline how to generate the necessary API key in ServiceNow and configure the integration in Flare.
ServiceNow-Side
Verify Required Plugins
Navigate to All > Admin Center > Application Manager and ensure that the API Key and HMAC Authentication plugin is activated.
Create an Authentication Profile
Go to: All → System Web Services → API Access Policies → Inbound Authentication Profile
Click New to create a new profile.
Select Create API Key authentication profiles.
Provide a clear name, e.g., Flare Authentication Profile.
Click the padlock icon next to Auth Parameter, then click the magnifying glass icon.
From the modal, select x-sn-apikey | Auth Header.

Click Submit to save.
Generate a REST API Key
Navigate to: All → System Web Services → API Access Policies → REST API Key
Click New to create a new API key.
Name it clearly, e.g., Flare API Key.
Assign a user account that has write access to the target table. Ideally, use an account that will remain active long-term.
Click Submit.
Set Up an API Access Policy
Go to: All → System Web Services → API Access Policies → REST API Access Policies (Note: This page may take a few seconds to load.)
Click New to create a policy.
Name it, e.g., Flare API Access Policy.
Check the Active box.
From the REST API dropdown, select Table API.
Uncheck Apply to all methods, then select POST as the HTTP method.
Uncheck Apply to all resources, then specify: now/table/{tableName} as the Resource.
Uncheck Apply to all tables, then choose the table you want to use.
In the Inbound Authentication Profiles section, add the name of the API key you created — it should auto-fill as you type.
Click Submit to save the policy.
Flare-Side
In Flare, go to the Integrations page
Click Configure then Create Channel.
For the channel type, select ServiceNow.
Enter a Name for the channel.
Fill in your ServiceNow instance information.
Provide the API key value generated from the ServiceNow steps above.
Click Test Channel to validate the configuration.
Once the test succeeds, click Create Alert Channel.
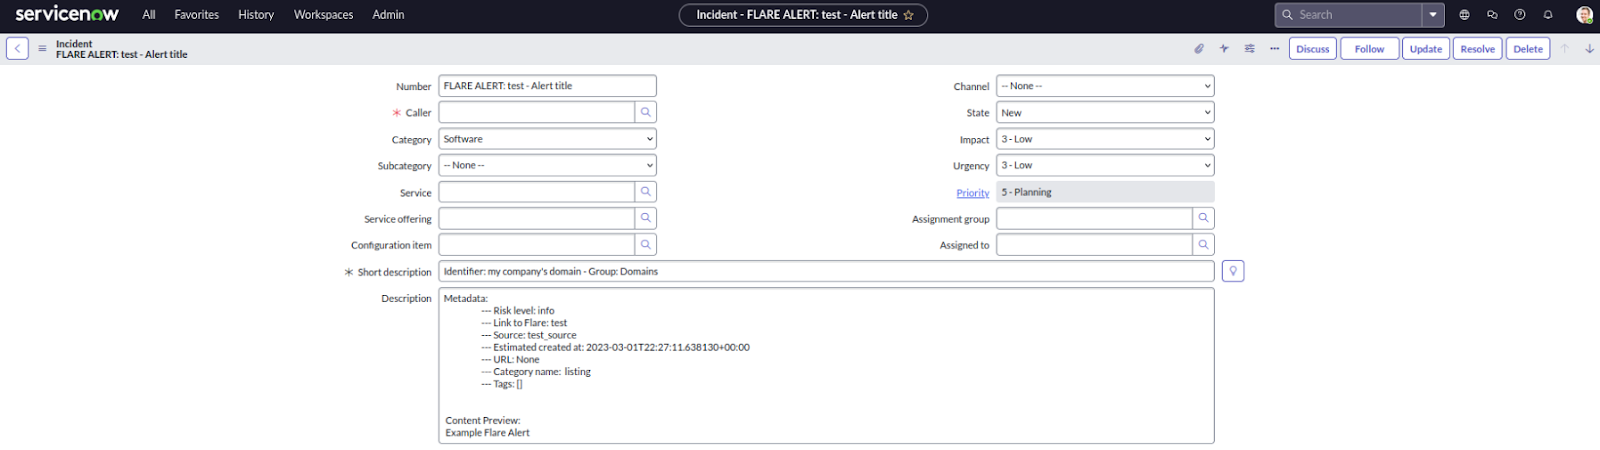
Flare will now post the data in your table as soon as it find it. Here is an example of what a Flare Incident will look like in ServiceNow: